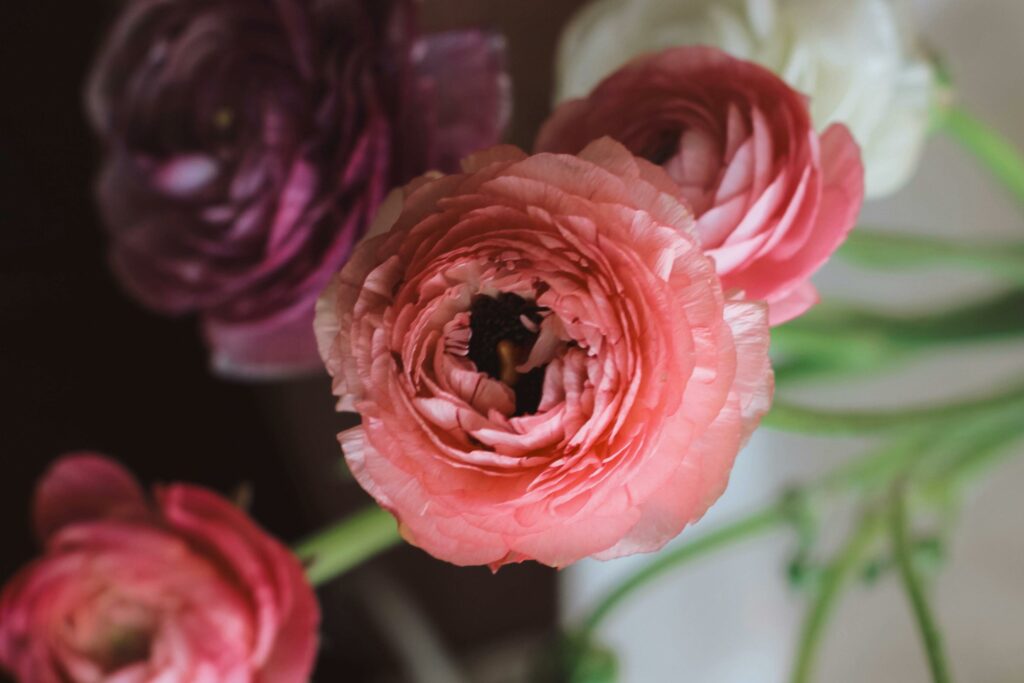

Preserving a wedding bouquet lets you keep a piece of one of the most meaningful days of your life. The key to success is speed — flowers start to wilt within hours of being cut, so preservation should begin as soon as possible after the ceremony, ideally within 1–3 days.
1. Before You Start: Timing and Prep
- Act fast. The single biggest factor in a successful preservation is how quickly you begin. If you can’t start the day of the wedding, keep the bouquet in water in a cool spot (or the fridge) and start within 24–72 hours.
- Take photos first. Document the bouquet from multiple angles before you begin any process, in case you want to reference the original arrangement later.
- Remove damaged parts. Gently pull off any wilted, bruised, or browning petals and leaves. Trim any greenery you don’t want preserved.
- Decide on your final use. Are you framing it, displaying it in a shadow box, keeping loose stems in a vase, or turning it into jewelry/resin art? This affects which method you choose and how you disassemble (or don’t) the bouquet.
- Separate delicate flowers if needed. Some flowers (like orchids or hydrangeas) preserve differently than sturdier ones (like roses), so you may want to treat them separately.
2. Preservation Methods
Method A: Air Drying (Easiest, Free)
Best for: sturdy flowers like roses, baby’s breath, statice, lavender, and most greenery.
- Remove excess leaves from stems.
- Divide the bouquet into small bunches (or keep whole if small).
- Tie stems together with string, twine, or a rubber band (rubber bands tighten as stems shrink, which helps).
- Hang upside down in a dark, dry, well-ventilated space (a closet works well). Darkness prevents color fading.
- Leave for 2–4 weeks until completely dry and brittle.
Pros: Free, simple, no special equipment. Cons: Flowers shrink, lose some color vibrancy, and become fragile. Not ideal for delicate or high-moisture flowers.
Method B: Silica Gel Drying (Best Color Retention)
Best for: preserving shape and color most accurately, including delicate flowers like peonies, ranunculus, and dahlias.
What you need: Silica gel crystals (craft stores or online), an airtight container, a soft brush.
- Pour a 1–2 inch layer of silica gel into the bottom of a container.
- Trim flower stems to about 1 inch and place flowers face-up in the gel.
- Slowly and gently pour more silica gel over and around the petals, using a small brush to work it into folds and gaps so petals keep their shape.
- Seal the container and leave for 2–7 days depending on flower size and thickness.
- Carefully pour off the gel and use a soft brush to remove residue from petals.
Pros: Excellent color and shape retention. Cons: Requires purchasing silica gel; flowers become very fragile and must be handled carefully afterward (often sealed with a light spray sealant).
Method C: Pressing (Best for Flat Displays)
Best for: framed art, resin pieces, or keepsake books; works well with flatter flowers like pansies, larkspur, and individual petals.
- Disassemble the bouquet into individual flowers/petals.
- Place flowers between sheets of parchment paper or blotting paper.
- Press using a flower press, or place inside a heavy book, then stack additional books or weights on top.
- Leave for 2–4 weeks, checking periodically and swapping out paper if it becomes damp.
Pros: Great for framed art, cards, or resin jewelry; low cost. Cons: Flowers lose all three-dimensional shape; only works well for certain flower types.
Method D: Professional Freeze-Drying (Best Overall Preservation)
Best for: couples who want the most lifelike, long-lasting result and are willing to pay for it.
This is done by specialized preservation companies using industrial freeze-drying chambers that remove moisture at very low temperatures under vacuum, which best retains the bouquet’s original shape, color, and even some texture.
- Ship or drop off your bouquet to a professional preservation company as soon as possible after the wedding (many recommend within a few days; some offer overnight shipping kits).
- The company freezes the bouquet, then places it in a vacuum chamber to slowly remove moisture over several weeks.
- Once dried, many companies offer additional services: mounting in a shadow box, dome, resin block, or custom frame.
Pros: Best color, shape, and detail retention; long-lasting (can last decades). Cons: Most expensive option (often $200–$600+ depending on size and display case); takes weeks to months to receive the final product; requires shipping your bouquet to a third party.
Method E: Resin Casting
Best for: modern, glass-like keepsakes such as paperweights, coasters, or wall art.
- First dry or press the flowers using one of the methods above (resin requires flowers to be fully dried first — fresh flowers will mold or discolor).
- Arrange dried flowers in a silicone mold.
- Mix and pour clear casting resin according to the product’s instructions, often in thin layers to avoid trapping bubbles or overheating.
- Use a heat gun or torch briefly to pop air bubbles.
- Allow to cure fully (usually 24–72 hours depending on the resin).
Pros: Extremely durable, modern aesthetic, versatile (jewelry, coasters, art). Cons: Technical skill required; low-quality resin can yellow over time; time-consuming.
3. Display and Storage Options
- Shadow box: Classic option; flowers are arranged and glued in place inside a glass-fronted box.
- Glass dome/cloche: Displays the dried bouquet in its original three-dimensional form.
- Frame: Best for pressed flowers, arranged in a pattern or in the bouquet’s original shape.
- Resin art: Paperweights, coasters, ring dishes, or wall hangings.
- Ornament: A small, sentimental option — some preserve just a few flowers or petals in a glass ornament.
- Keep the vase display: Simplest option — leave the air-dried bouquet in its original bouquet holder or a vase, no disassembly required.
4. Long-Term Care Tips
- Keep out of direct sunlight — UV light fades color quickly, regardless of preservation method.
- Avoid humidity — Moisture can cause mold or reverse the drying process. Silica gel packets placed near a display can help absorb ambient moisture.
- Handle minimally — Dried and pressed flowers are brittle; a sealed display case protects them from dust and accidental damage.
- Dust gently — Use a soft, dry brush rather than cloth or liquid cleaners.
- Consider a sealant spray — A light matte or UV-protectant spray (found at craft stores) can add some durability to dried arrangements not enclosed in glass or resin.
5. Choosing the Right Method for You
| Priority | Best Method |
|---|---|
| Lowest cost | Air drying |
| Best color accuracy | Silica gel or professional freeze-drying |
| Flat/framed keepsake | Pressing |
| Most realistic, long-lasting result | Professional freeze-drying |
| Modern, glossy keepsake | Resin casting |
| Fastest to start, DIY-friendly | Air drying or silica gel |
If your bouquet has sentimental irreplaceable value and budget allows, professional freeze-drying combined with a custom display case tends to give the most reliably beautiful, long-lasting result. If you’re comfortable with a DIY project and want to save money, silica gel drying offers the best balance of color retention and affordability.
Quick summary of action steps:
- Take photos of the bouquet.
- Choose your preservation method within 1–3 days of the wedding.
- Prep the bouquet (trim, remove damaged parts, divide if needed).
- Follow your chosen method’s process and timeline.
- Choose a display option and store away from sunlight and humidity.